Kimberbell Machine Embroidery Event
“Meet me in the kitchen, kitchen, meet me at the fair…”
Okay, I just butchered that classic song from Meet Me in St. Louis. Nevertheless, it’s the tune that kept me stitching through my first-ever virtual Kimberbell Event: Day at the Fair. (And yes, I “attended” this event in my kitchen. The commute was brutal.) :)
I’ll be honest: going to a machine embroidery event in my kitchen is a scenario that I’d never before envisioned. I mean, Kimberbell Events are held at a Certified Shop; that’s simply where one goes for this kind of thing. But, as we all know very well, our world has changed since the COVID-19 pandemic, and that’s why Kimberbell adapted this event to be held virtually through the end of 2020. And do you know what? It was really fun!
Granted, there were some differences. I don’t normally yell things like, “Take those Popsicles outside right now and away from the embroidery machine!” when at the quilt shop. But aside from occasional outbursts like that, I really quite enjoyed myself.
I’ll admit to a little trepidation at first. After all, I’d never attended an event alone before. What if I ran into a problem? Thankfully, I had reassurance from the nice quilt shop people that they would
be available for questions (Phew!) so I knew they had my back. I was also armed and ready with those amazing Kimberbell directions and videos from Kim to guide me, and they both saw me through! But I’m getting a little ahead of myself. Let me back up and tell you the whole experience from the beginning.
First, I registered for the event through my Kimberbell Certified Shop. I had originally signed up for Day at the Fair (the regular, at-the-shop event) before all of this pandemic business threw a wrench in the plan and things were cancelled. As soon as I learned the date of their virtual event, however, I made sure to get in on the fun. (Hooray for an alternative!)
Next, I picked up my Attendee Kit from the quilt shop, which they had ready for me. My shop also created an event Facebook group, so I made sure to join that. 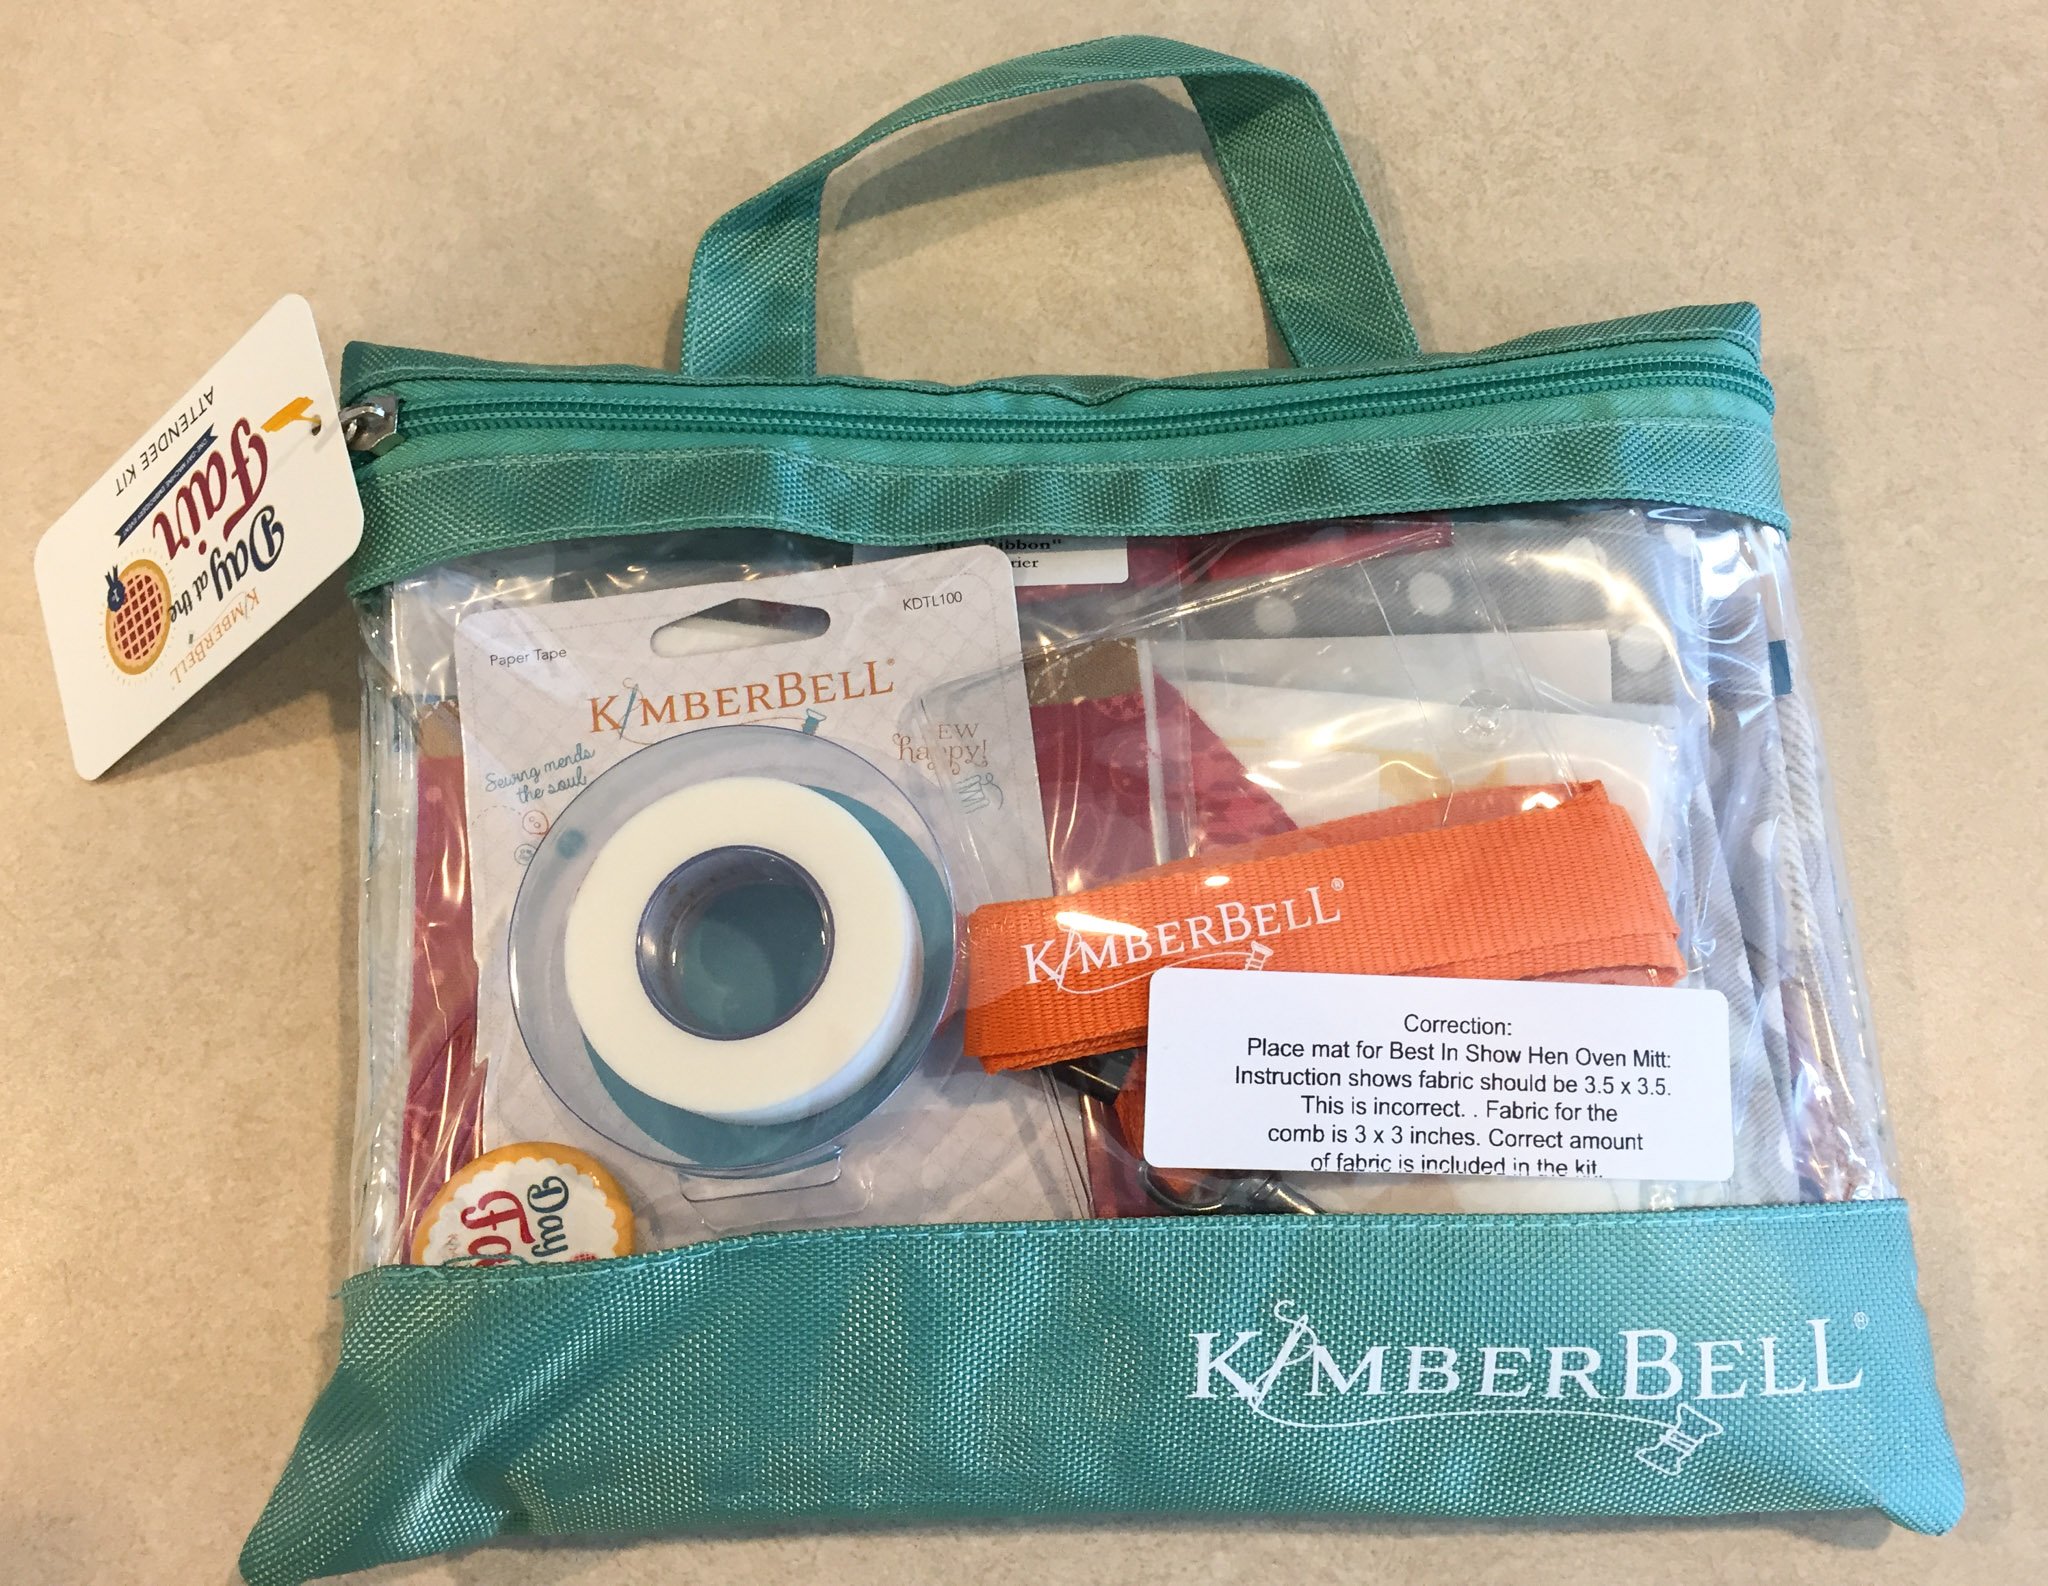
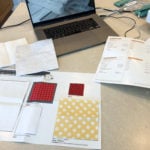
Now, Certified Shops are going to hold their virtual event(s) in different ways. My shop simply posted the instruction videos in the Facebook group and encouraged us to make the projects at our leisure, but other shops may host a live sew-along where attendees are doing the same thing at the same time. When you attend a virtual event, stay in close communication with your quilt shop to see how they’re running things. As my shop posted the videos on Facebook, I jumped in as soon as the breakfast dishes were done!
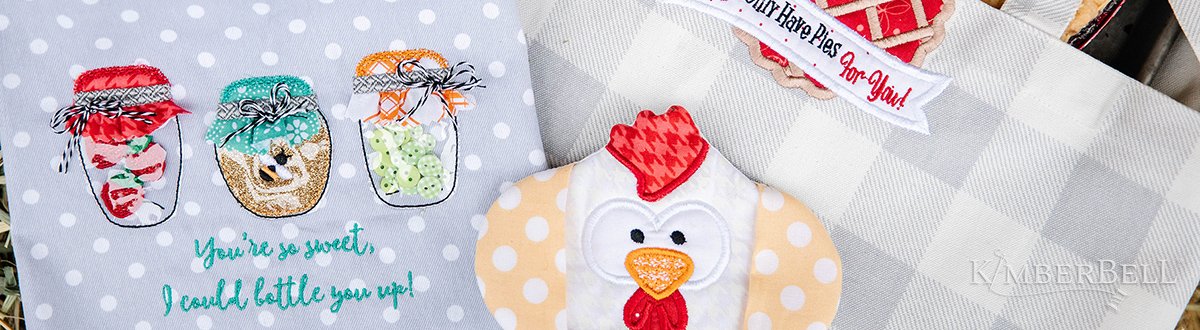
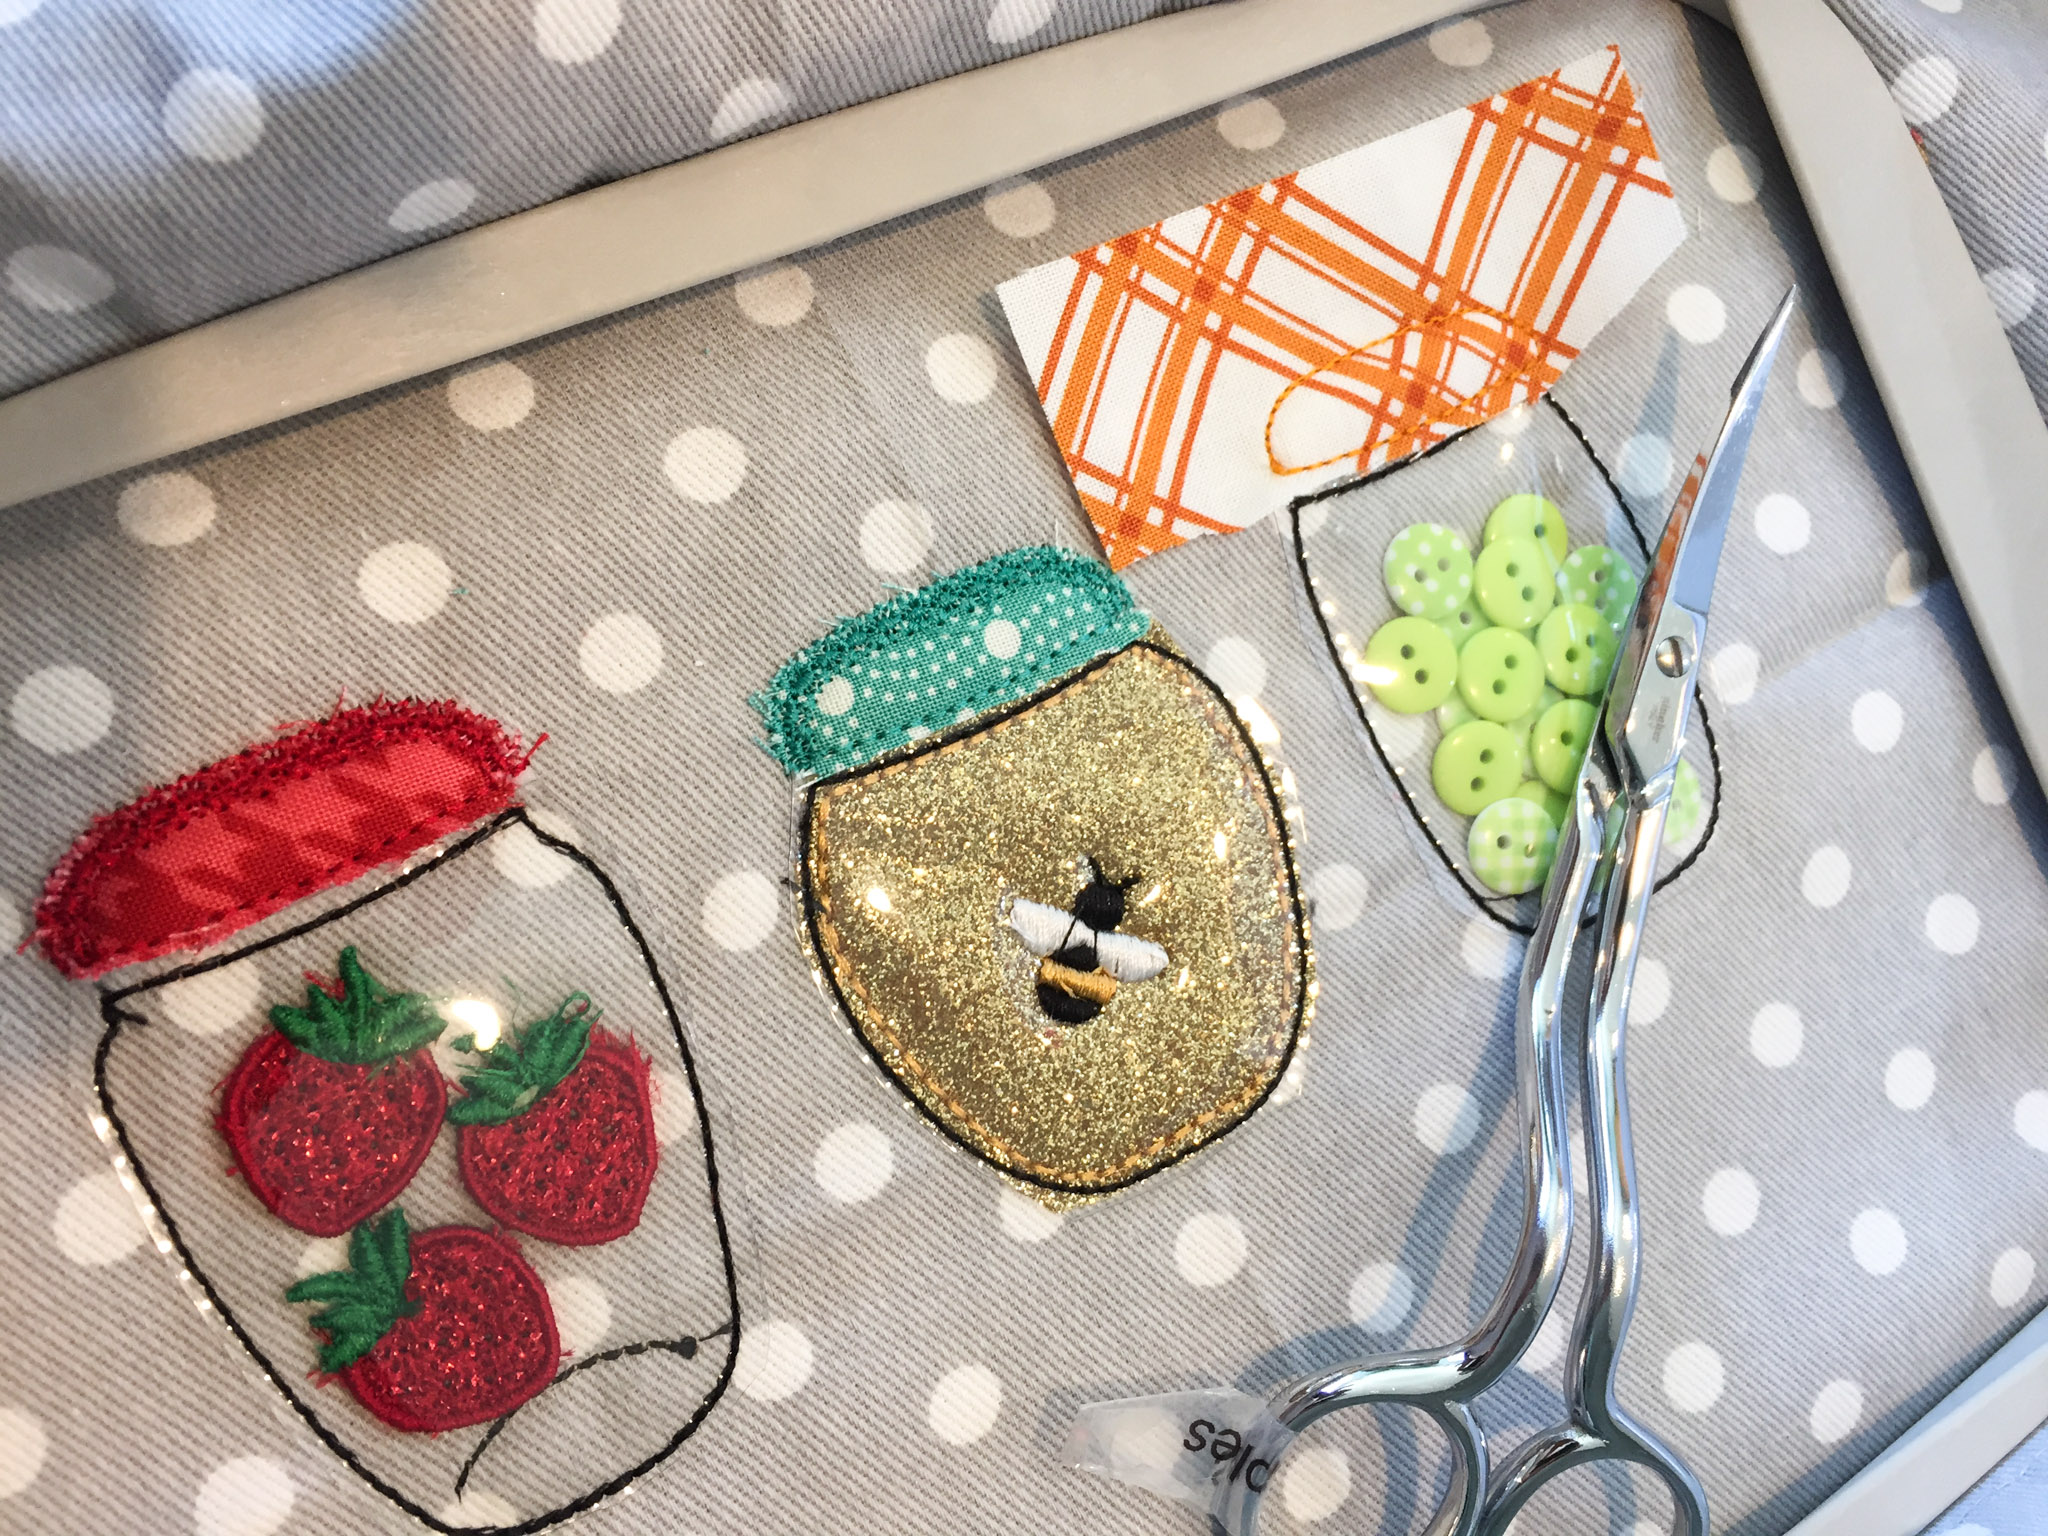 The first project I made was the First Prize Preserves Tea Towel, and I couldn’t wait to get going. Months ago, when I saw this adorable towel come out of Product Development for the first time, I knew that I wanted to make it someday. The Vinyl Mason jars! The little Mylar strawberries! The Applique Glitter honey and Cute as a Button sweet peas! I just loved this towel right from the first and hoped it wouldn’t be beyond my embroidery skills. (It looks so amazing, it has to be hard, right?) But those Kimberbell full-color, step-by-step instructions carried me right along. Although there are so many dimensional elements to this design, it wasn’t hard at all and I soon had a beautiful First Prize Preserves Tea Towel in all of its shiny and glittery glory. I still can’t get over those tiny Mylar strawberries. (And I can’t say enough about Kimberbell instructions. They could not be easier to follow!)

After experiencing great success and excitement with the tea towel, I moved on to the Blue Ribbon Pie Carrier. (I am extremely fond of pie. Speaking of which, be sure to try our coordinating product recipe for Caramel Apple Pie!) Again, those Kimberbell instructions saw me through every step and I had my pie carrier in no time. Did you know that Kimberbell Totes come without side seams, so they’re super easy to hoop? I don’t think I fully appreciated this fact until I very easily hooped the tote and stitched the over-the-edge applique. It was as easy as pie (Sorry, I can’t help myself!) to whip out my sewing machine and quickly stitch the side seams according to directions, turning my tote into a pretty pie carrier. All it’s missing now is an actual pie. (I’ll have to get right on that...)
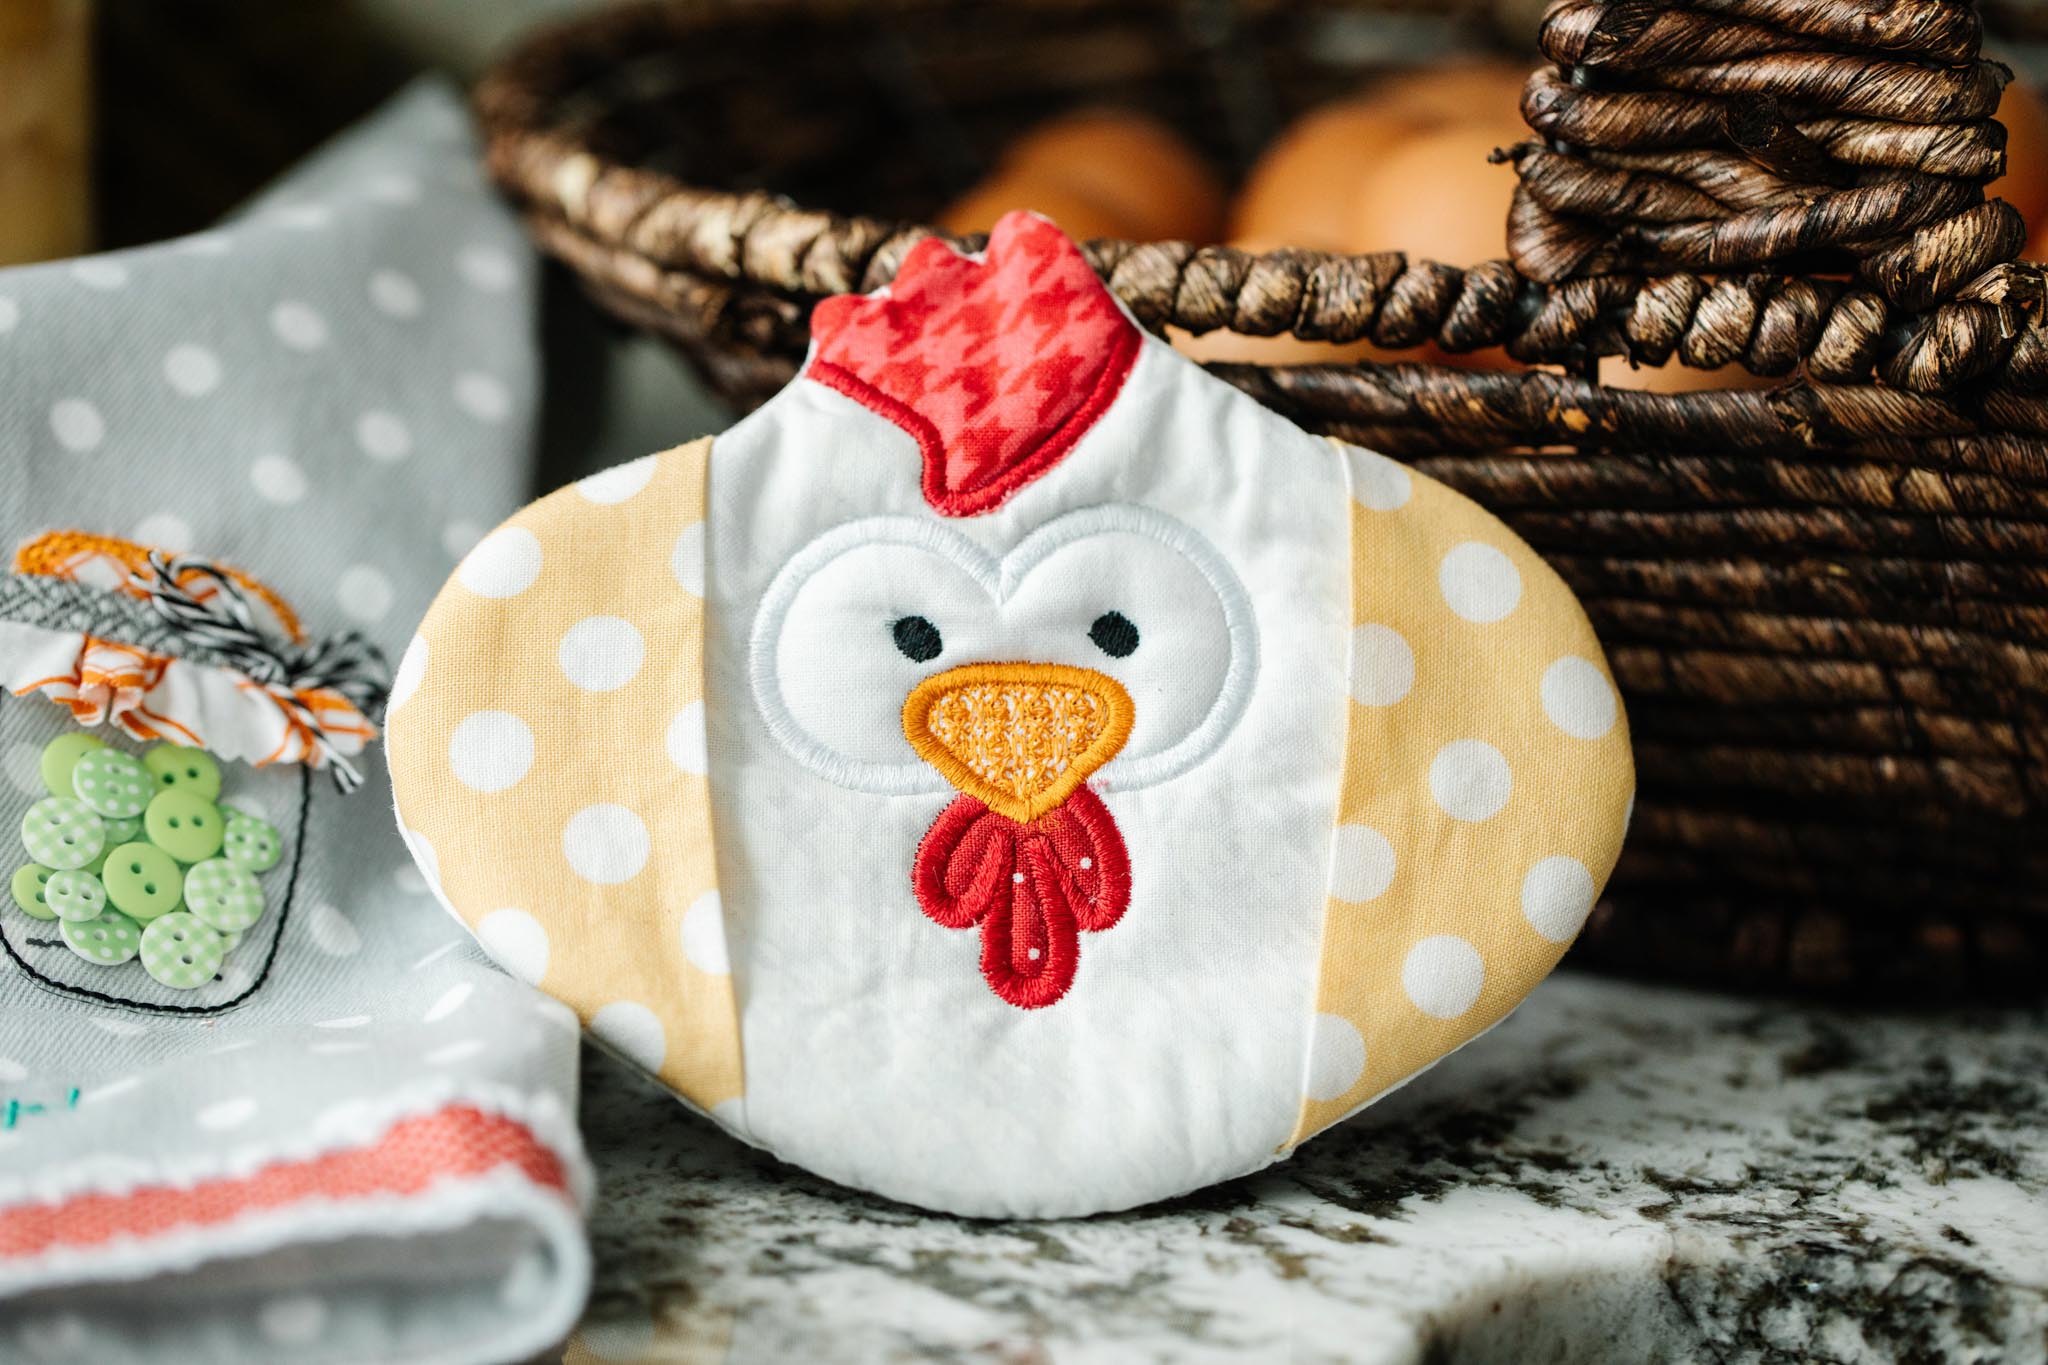 Last, but not least, I made the Best in Show Hen Oven Mitt. Now, this little chick is made in a 6x10 hoop at the event, but because my machine only has a 5x7 hoop, I made the next size down. (Thankfully, the hen comes in three different sizes.) You know, as I anticipated attending this event, I thought the hen would be the most difficult--that’s why I saved her for last, so I could first build confidence with the other two projects. But I should leave all of the judging to the folks at the county fair because it turns out that the hen was extremely easy to make. The way she’s constructed, completely in-the-hoop, is nothing short of genius, and now I have an oven mitt worth crowing over. Clucking over. Whatever.
My experience was also punctuated by fun contests on the Facebook group hosted by my quilt shop. For example, they asked us to post a GIF of our favorite fair food. Of course, I posted about nuts--those heavenly, sugary, salty, carnival nuts. (What fair food are you nuts over?)If you ever have the chance to attend Kimberbell’s Day at the Fair (either virtually or in person) DO IT. The virtual experience, though different than being in a shop, was still very fun and I’m absolutely loving my finished projects. The videos are taught by Kim Christopherson herself, which is a real treat, and the Attendee Kit includes all of the fabric and embellishments you need! Whether you’re participating from your quilt shop, your craft room, or even from the kitchen counter like yours truly, any place is the right place to experience the joy of creativity™ with Kimberbell.